Your Cart is Empty
Tutorial below provided by BettyAnn
I have been trying to figure out a great simple wallet that would hold money/coins AND credit cards and all those little bits of paper, but yet not be much bigger than a credit card itself.
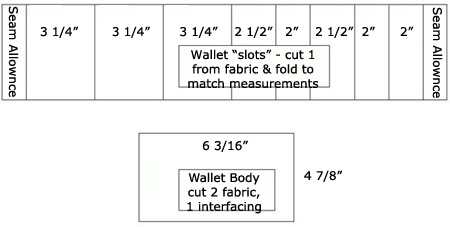
My representation of the pattern. Keep in mind this is notto scale, but the dimensions are correct.
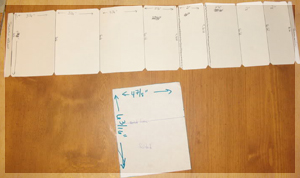
Cut out your pieces (you will see I already attached the interfacing to one wallet body piece).
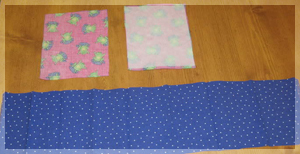
Iron all the folds into the long piece and lay on top of the wallet piece that doesn'thave interfacing. Line it up to bottom and sides nice and flush.
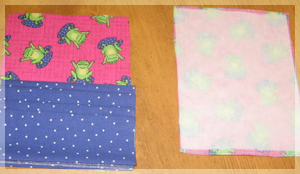
Place the interfaced wallet piece right side downon top of other 2 pieces. Line it up as straight as you can.
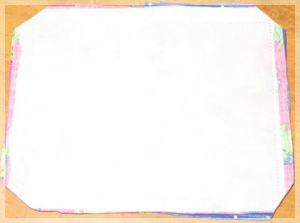
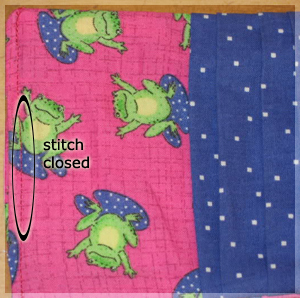
Sew all around it, leaving an unstitched area where you will flip the wallet inside out. Snap will go here.
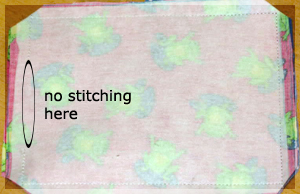
All turned right side out. I used a long iced tea spoon handle to get those corners as square as I could.
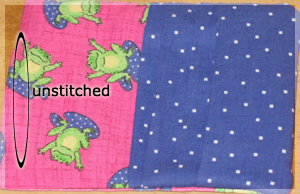
Top-stitch just the very top where the opening was. Tuck the seam in neatly before stitching.
What color snap to use?? hmmmm . . . decisions, decisions!
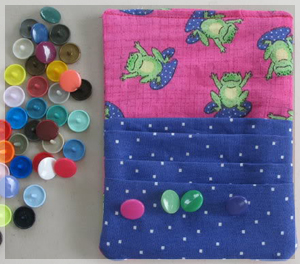
Attach stud/cap on front.
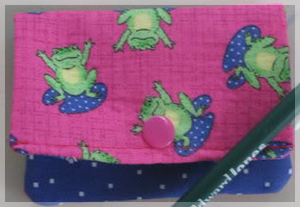
Fold down flap a wee bit over the last section (that's the loose coin area). Mark where socket/cap should go.
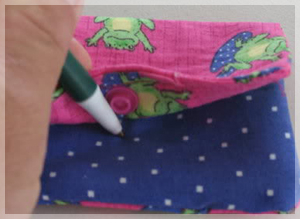
Socket/cap is now attached.
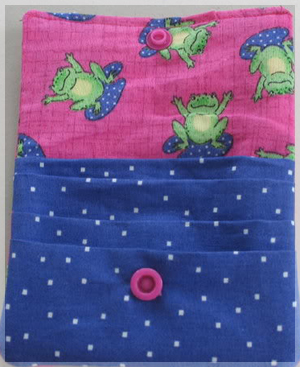
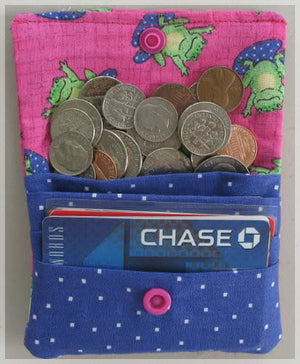
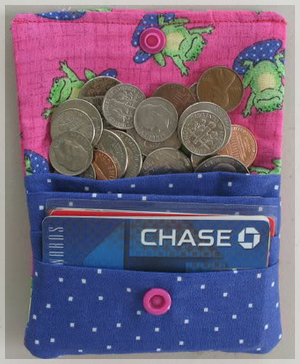
Load this thing up!

And it closes!
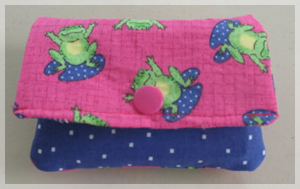
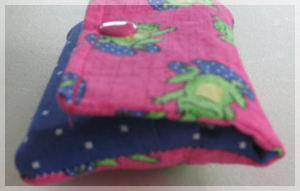
Sideway shot of it full and snapped shut.
