
Your Cart is Empty
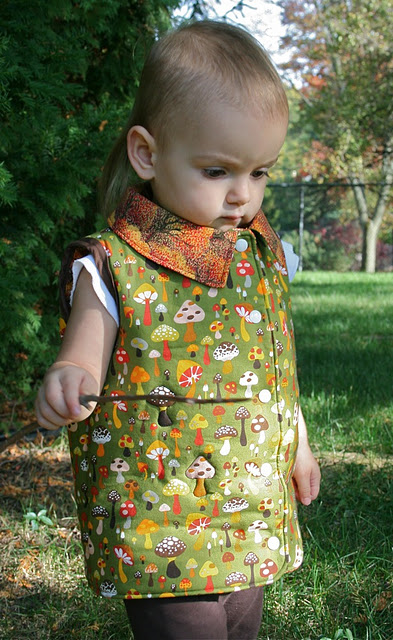
Did you know that KAM snap fasteners are perfect for reversible clothing? These no-sew buttons can be snapped together like a normal fastener. Turn your coat, sweater, or vest inside out however, and the snaps can still be closed together! With children's clothing in particular, the ability to snap from either side allows clothes to get a lot more wear before kids outgrow them. Below is a tutorial for a reversible toddler vest that is almost as lovely as the model wearing it!
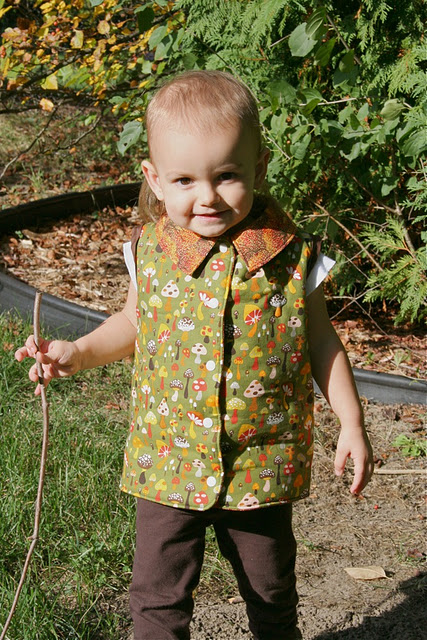
Autumn Angel Reversible Padded Vest
by SewCanDo
Here's How:
You'll Need:
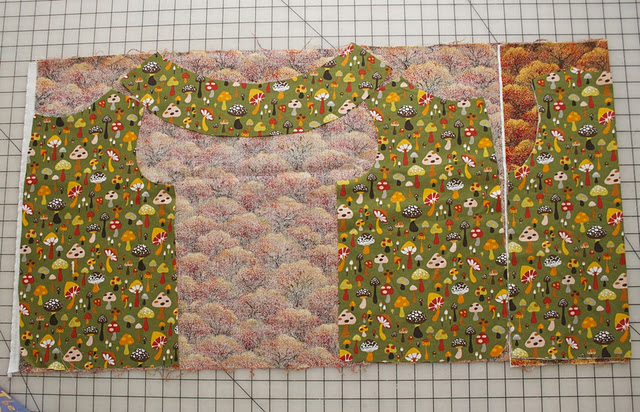
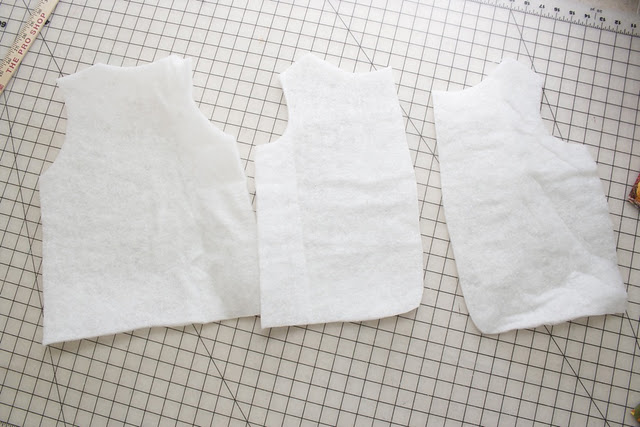
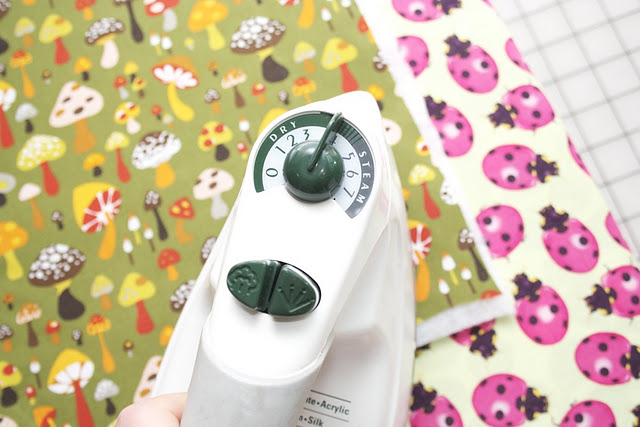
Cut the two front pieces and single back piece from the batting. You can either use a fusible type batting like Fusible Thermolam Plus from Pellon or polyester batting like Legacy. You'll also need to cut a piece of fusible interfacing for the collar. I used
Décor Bond (also from Pellon) since it would be soft, but still give the shaping needed for the collar when it folded over.
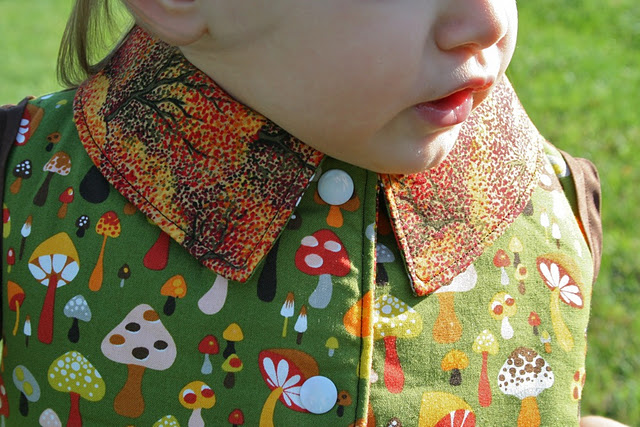
Iron the interfacing onto the wrong side of one of the collar pieces.
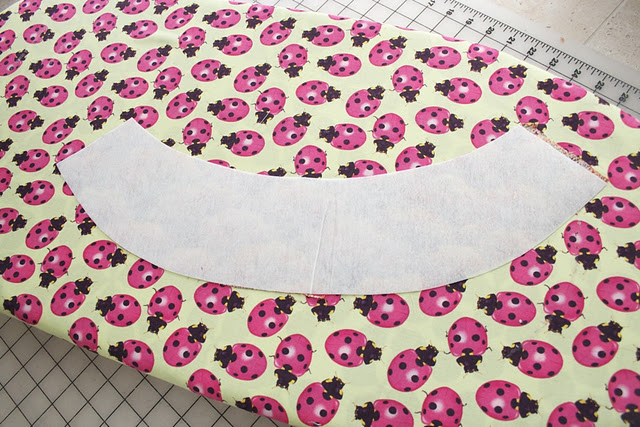
With a 1/4 inch seam allowance, and right sides of the two collar pieces together, sew a seam around the sides and large curve of the collar. Clip around the corners and curve and turn right side out.
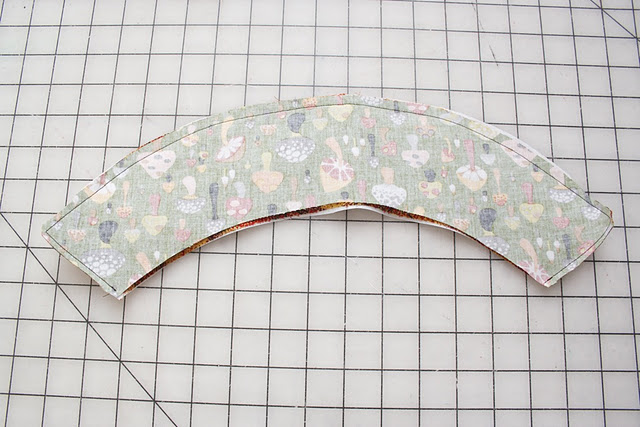
Press around edges and topstitch around the edge of the sides.
Now pin the collar onto the neckline of one vest side's right side, lining up the center of the collar with the center of the back of the vest. I wanted the collars to be contrasting, so to do that place the contrast side facing up.
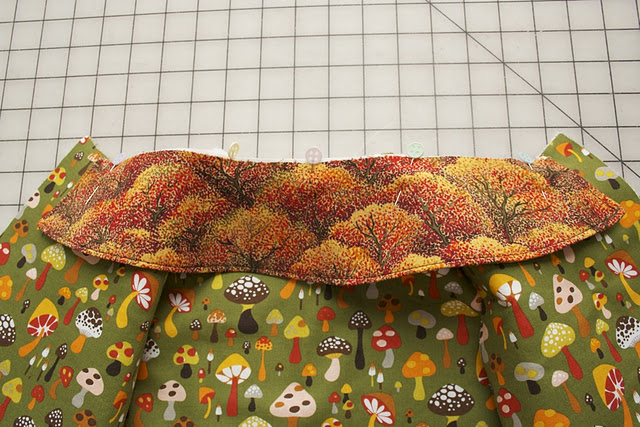
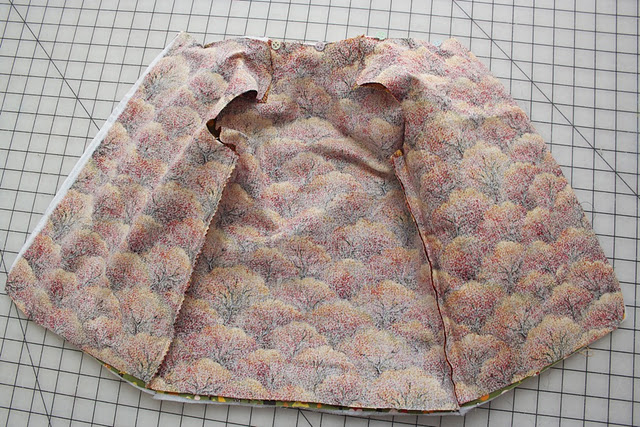
Now, with right sides facing, pin the two vests together (with the collar sandwiched in between) and sew all the way around. Turn it right side out through one of the armholes.
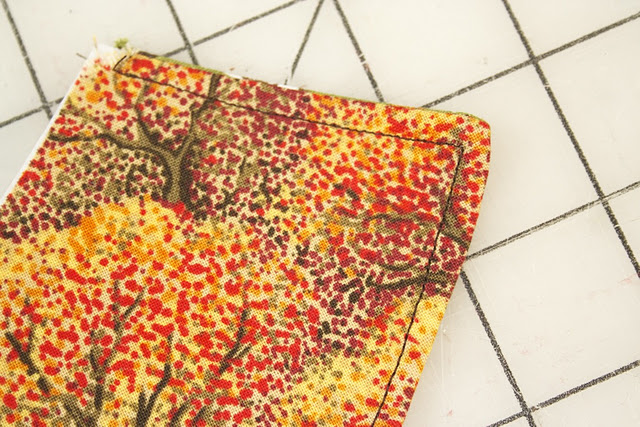
Then pin bias tape around each of the arm holes to finish, folding in and overlapping the raw edges and sew on close to the tape's edge.
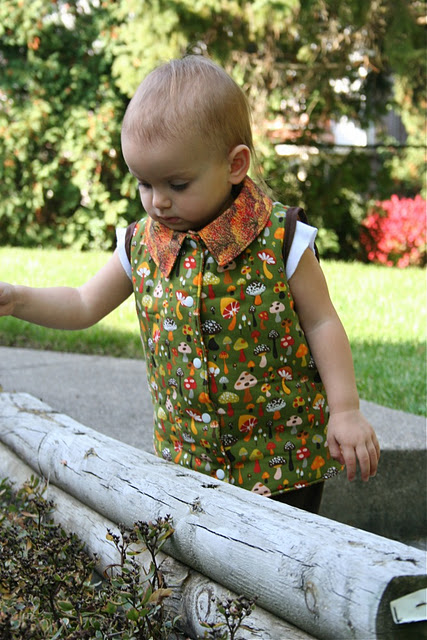
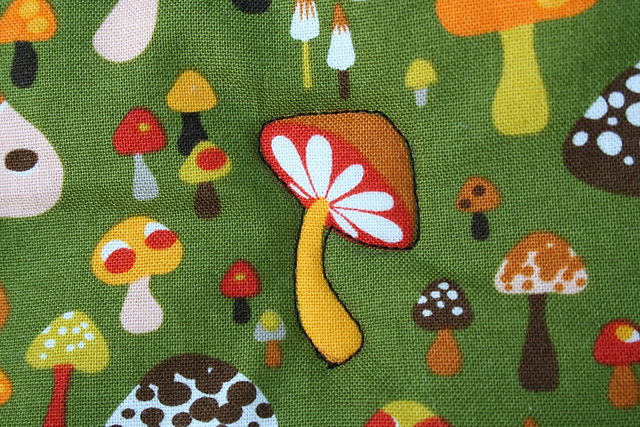
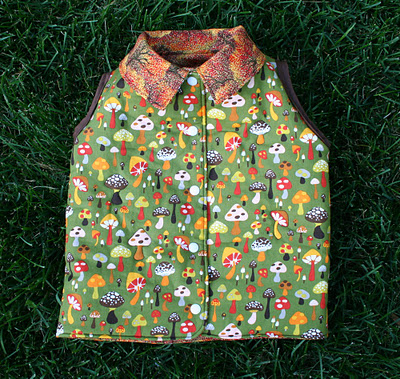
I thought a fun alternative to traditional quilting would be to randomly topstitch around some of the bigger mushrooms in the print. I like the effect it gives:
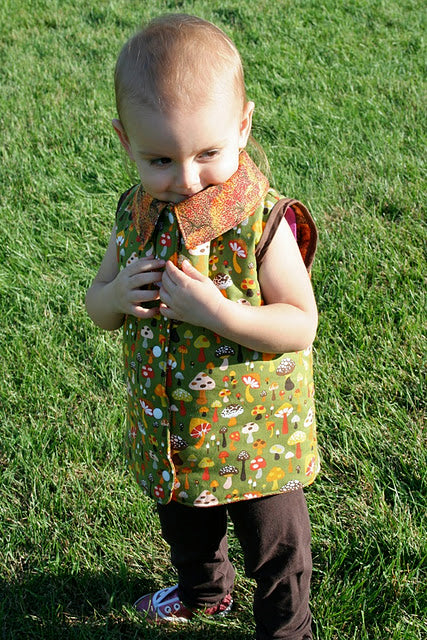
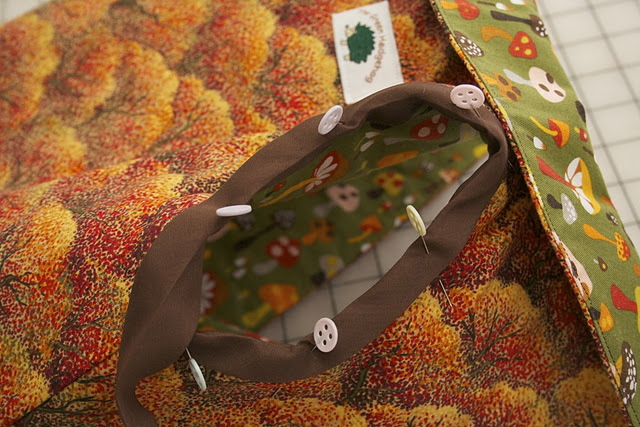
I used my favorite snap press & plastic snaps down the front. (You can also use the more inexpensive pliers for plastic snaps.) They add a little extra contrast color and makes the closure completely reversible (unlike buttons or a regular zipper).
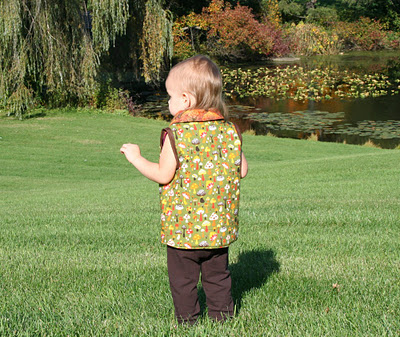
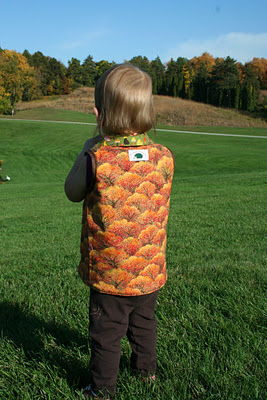
So it looks great from both sides:
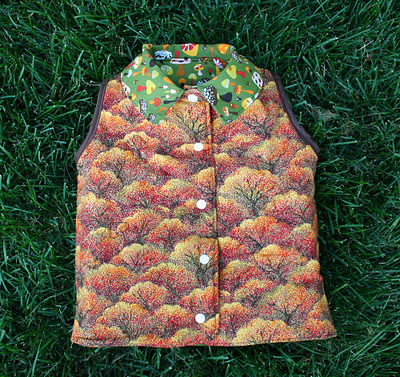
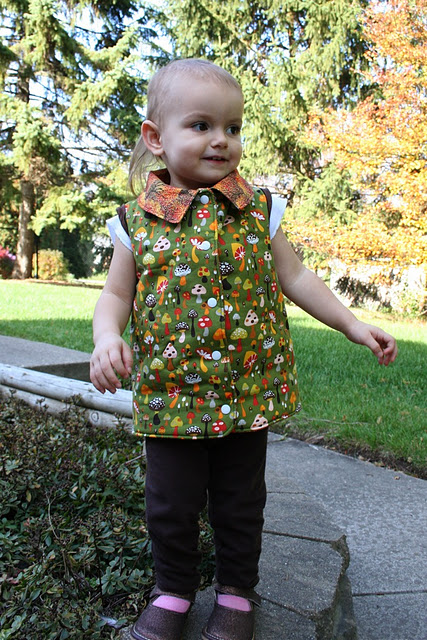
And also from the "shy side":

Now you can have a festive vest that gives two fun fall looks & will keep a little someone toasty warm too!