Your Cart is Empty

Adding Snap Fasteners to a Prefold Diaper
Tutorial below provided by Jennifer
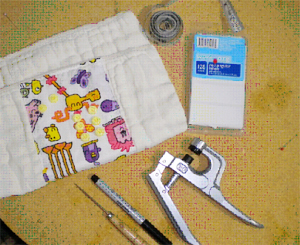
Items needed:
- Infant size Prefold diaper
- Pin
- Ruler or tape measure
- Piece of paper or sticky label
- KAM snap pliers or press and awl
- 8 size 20 snap caps (with thicker fabric, long prong caps may work better)
- 6 sz 20 snap sockets (female)
- 2 sz 20 snap studs (male)
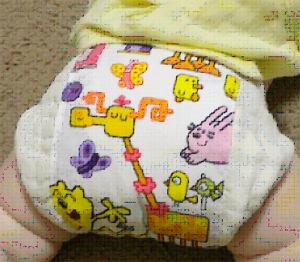
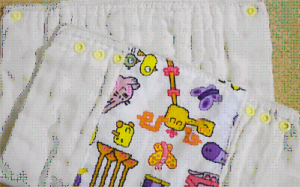
First you will want to pick your Prefold. I am using an embellished one to help show the front and back.
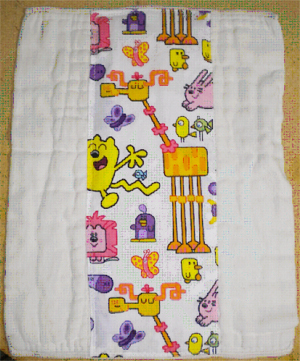
Choose your front and back.
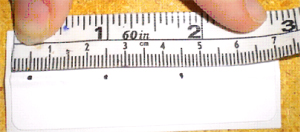
Make your snap template. I chose to use a 1 in x 2 ¾ in rectangular label. This way I can stick it on my diaper and it will not move while making my holes.
Find the middle length wise. I folded it in half. Starting at ½ cm from the edge mark every 2cm. You will make 3 marks for 3 sockets.
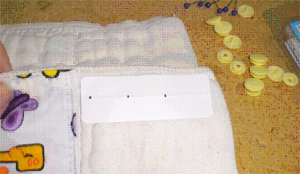
Place label on diaper just under the zigzag stitching and at the very edge of the quilted part of your prefold.
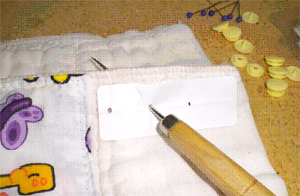
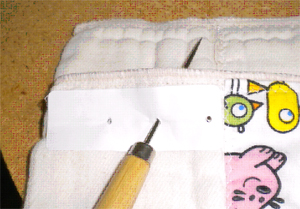
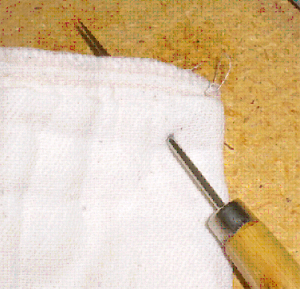
Make your holes by poking your awl through the label and diaper. Make sure you do it all the way to the handle of the awl and kind of wiggle it. It is a lot of fabric and you want to make sure you have a good hole to put your cap through.
Repeat on other side of front.
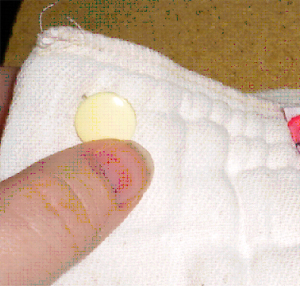
Now add snap sockets. Put snap cap thru the diaper from the inside, then put socket on the outside.
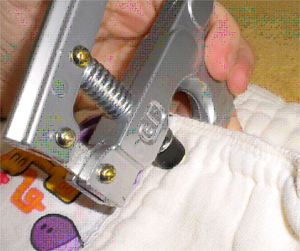
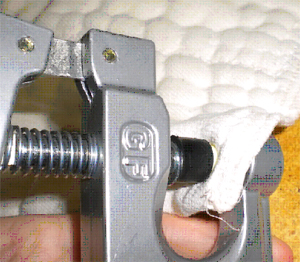
Center snap in pliers and press firmly.
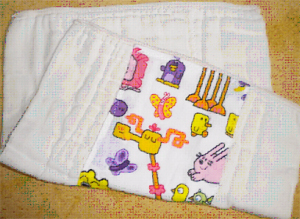
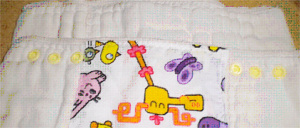
Repeat until you have 3 sockets on each side. Like so.
Now for the back. Place diaper in front of you and fold in half from bottom to top so that your socket are facing you. (see above picture)
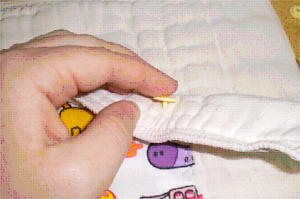
To place your back studs you will measure ½ " from the edge just below the zigzag stich. Mark with pin. Make hole with awl. Again make sure to wiggle the awl.

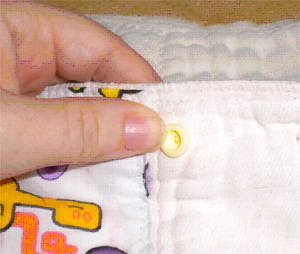
Place cap on the back and add socket. Center snap in pliers and press firmly.
Repeat on other side. And you are finished.
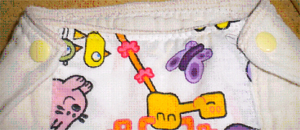
In action on my 7 month old.